下面关于servlet 3.0我们展开介绍
- 配置web.xml
1 | <?xml version="1.0" encoding="UTF-8"?> |
这里有一点需要注意 web.xml版本一定要大于等于3.0 否则servlet没有\
1 | <servlet> |
- 书写表单
1 | <html> |
- 编写controller
1 | public ModelAndView upload(MultipartFile file) { |
多文件上传
- form表单中添加
<input type="file" name="files" value="请选择上传的文件" multiple="multiple"> - 将controller中的public ModelAndView upload(MultipartFile file)参数改为MultipartFile[] files
这里要注意我们参数名称改了,所以前面的form表单中的name也需要改变 - 在controller中添加foreach循环迭代出 file对象 (idea中foreach快捷键为iter)
1 | for (MultipartFile file : files) { |
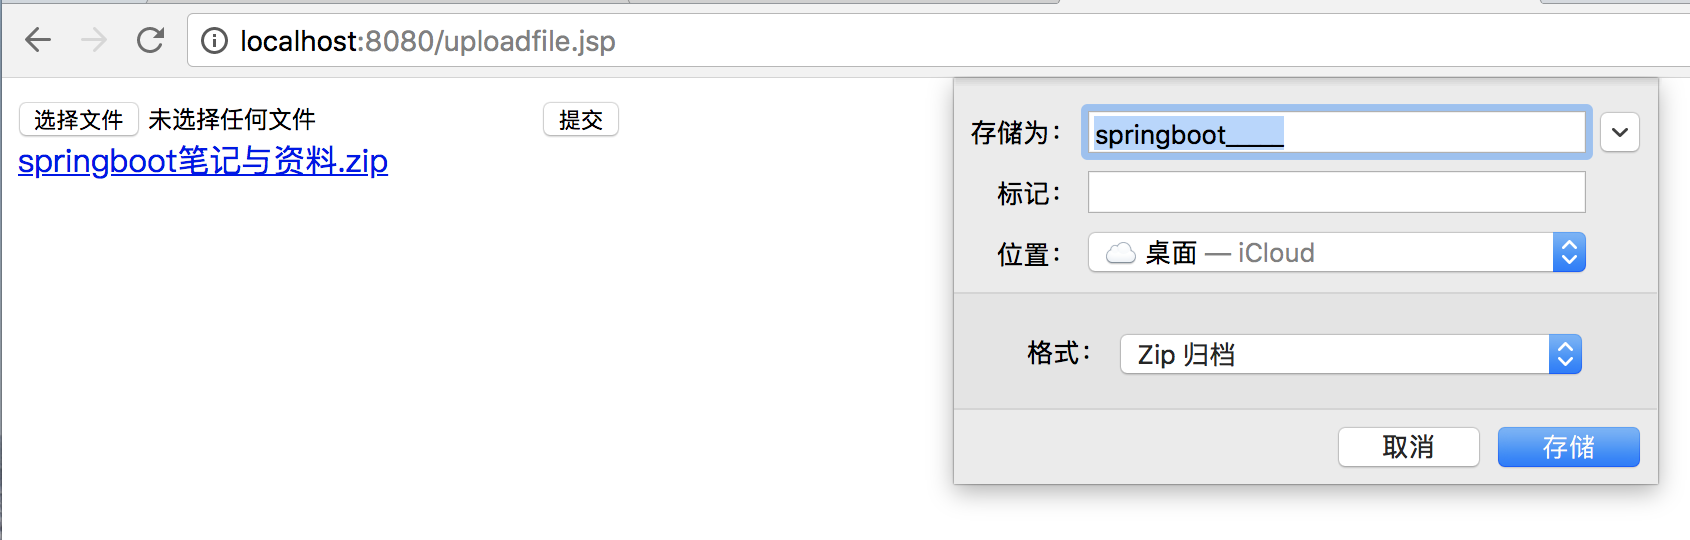
链接下载
<a href="/download?fileName=springboot笔记与资料.zip">springboot笔记与资料.zip</a>
最终结果